Free delivery on orders over £50, only £4.95 under £50
Free delivery on orders over £50, only £4.95 under £50
Welcome to our blog, your one-stop resource for news, features and resources for living life to the fullest. View our articles on the latest mobility products and features with disability bloggers.
Posted by Mike Phipps on April 12, 2019
The Prima Outdoor Grab Rail is our most popular rail, thanks to its subtle colour and textured finish. It’s also easy to install safely and securely, by simply following our handy step-by-step guide below.

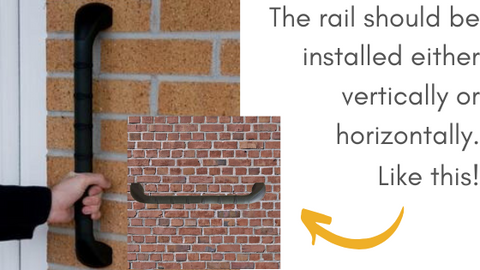
Firstly, the Prima Outdoor Grab Rail should be installed either vertically (upright) or horizontally (sideways) to ensure optimum safety, and make it easier to grip.

The Prima can be fitted to most types of solid wall, such as brick. If fitting the Prima to a stud/plasterboard wall, make sure to use suitable fixings and always ask a qualified tradesperson if in doubt.

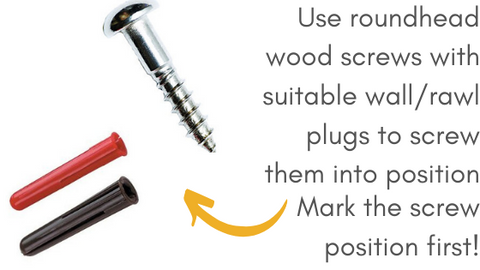
To fit the Prima, position it against a flat wall and mark the four screw positions. Then use number 10 x 50mm (3/16 inch x 2 inches) roundhead wood screws with suitable wall/rawl plugs to screw them into position.

Once you’ve screwed the Prima into position, the next step is fitting the rail’s end caps to conceal the screw fixings. To fit the caps, simply push down on them firmly until they are secure.

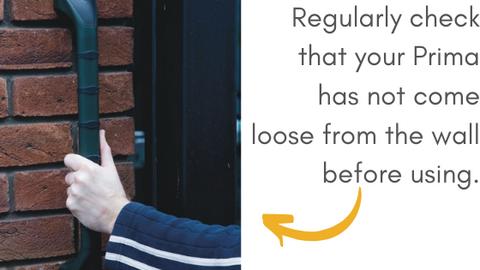
Check before using the rail that it is securely attached and will not wobble. It’s also important to periodically check that your Prima hasn’t worked loose and is still safely fixed to the wall.

Clean your Prima regularly with a mild, non-scratch detergent, especially if it’s in regular use. This helps to prevent germs spreading and preserves the ergonomic grip of the Prima.